There’s nothing quite like the feeling of a freshly ironed shirt. The crisp, smooth fabric against your skin is a pleasure to wear. But too often, shirts are either not ironed properly or not at all. In this blog post, we’re going to teach you how to iron a shirt like a pro. So put on your favorite shirt and let’s get started!
Using the Iron
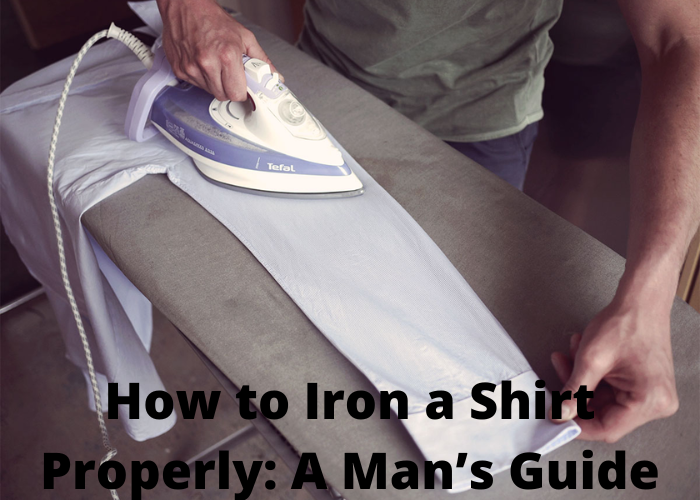
The iron is a handy tool that can be used for more than just getting the wrinkles out of your clothes. When used properly, an iron can also help to remove stains, brighten colors, and kill bacteria. Not sure how to get the most out of your iron? Here is a quick guide on how to iron a shirt properly:
To start, fill the iron with water and set it to the appropriate temperature for the fabric you are working with. Pre-treat any stains on the shirt with a stain remover, then place the shirt on an ironing board with the back side up. Begin by Ironing the collar, using short strokes to work out any wrinkles. Then, move on to the sleeves, starting at the cuff and working your way up to the shoulder. Next, Iron The front placket, taking care not to catch any buttons in the process. Finally, Iron the body of the shirt, starting at the bottom and working your way up. Once you’re finished, hang up the shirt and enjoy wearing it wrinkle-free!
Read Shirt Label
Many men avoid ironing their shirts, fearful of ruining the fabric or not being able to achieve that crisp, pressed look. However, with a little bit of practice, ironing can be easy and even enjoyable. First, start by reading the care label on your shirt. This will tell you the temperatures and settings that are safe to use on the fabric. Next, set up your ironing board in a well-ventilated area and plug in your iron. Allow it to heat up to the appropriate temperature. Once it is heated, begin by ironing the collar, using small strokes and working your way from the top of the shirt down. Then move on to the cuffs, and then the front and back of the shirt. Be sure to use a light touch when ironing around buttons. Finally, hang up your shirt or fold it neatly and enjoy the fruits of your labor! With a little bit of practice, you’ll be an expert ironer in no time.
Wet Your Shirt
Many men are put off by the task of ironing their shirts, thinking it to be a time-consuming and difficult chore. However, with a few simple tips, ironing a shirt can be quick and easy. First, start by wetting your shirt. This will help to loosen the fabric and make it easier to iron. Next, lay your shirt flat on an ironing board and begin working on the collar. Be sure to use a damp cloth to avoid burns. Once the collar is done, move on to the sleeves, working from the cuff up to the shoulder. Again, be sure to use a damp cloth. Finally, move on to the body of the shirt, working in small sections until you reach the other side. Remember to take your time and avoid wrinkles. With these simple tips, you’ll be ironing your shirts like a pro in no time!
How to Iron Cotton Shirts
A well-ironed shirt is a sign of respect. It shows that you take pride in your appearance and that you are willing to put in the extra effort to look your best. While ironing may seem like a tedious task, it is actually quite simple once you know how to do it properly. Here is a step-by-step guide to ironing a cotton shirt:
- Start by setting up your ironing board in a well-lit area. Make sure the board is covered with a clean, smooth surface. If using an ironing board cover, make sure it is made of 100% cotton.
- Preheat your iron to the correct setting for cotton fabrics. Most irons have a dial that allows you to select the fabric type.
- Begin Ironing at the Top of the Shirt: start with the collar, then move on to the yoke (the triangular piece of fabric at the base of the neck), followed by the sleeves and finally the body of the shirt.
- Be Sure to use a Pressing Cloth: A pressing cloth is a thin piece of fabric that helps protect your shirt from being burned or damaged by the iron. Place the pressing cloth over any areas that you are unsure about before applying direct pressure with the iron.
- Use both Hands when Ironing: This will help you apply even pressure and avoid creating wrinkles or creases in the fabric.
- Hang Up Your Shirt When You’re Done: Hanging up your shirt will help it keep its shape and prevents wrinkles from forming while it cools down.
following these simple steps, you can easily achieve professional-looking results at home. With a little practice, you’ll be able toiron shirts like a pro in no time!